

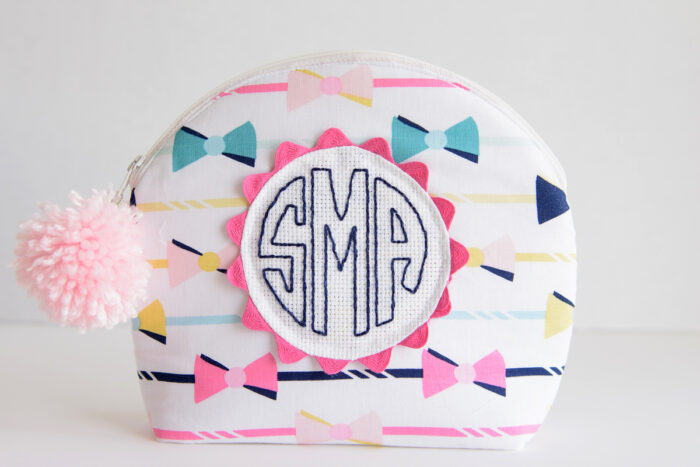
Y’all know how much I love making zippered pouches and today I’m sharing with you a Curved Zipper Pouch Sewing Tutorial with a hand-stitched monogram. If you like this post you may also like this embellished zippered pouch sewing pattern.

I love to share the items that I’ve sewn for my kids in hopes that I’ll help others who are also trying to sew for older kids and teens. My daughter used to be obsessed with nail polish and I thought it would be fun to stitch her up a little pouch to hold some of her supplies.
Table of Contents
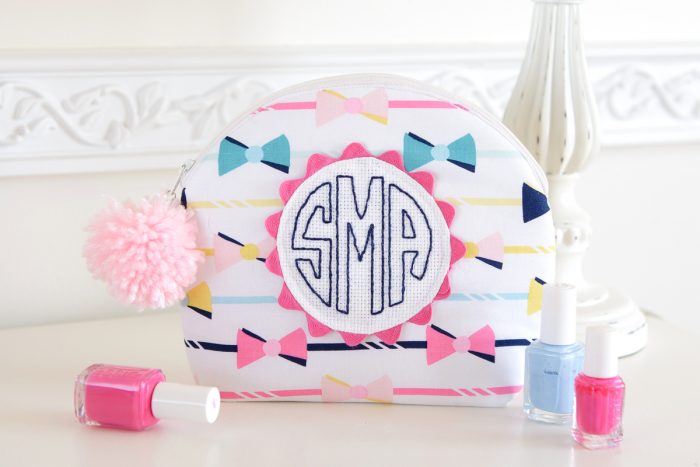
I love a good monogram! It’s such a fun way to personalize a gift. I wanted to add a monogram to the front of my zip pouch but know that not all of you have an embroidery machine so I decided to hand stitch a monogram for the front of the case.
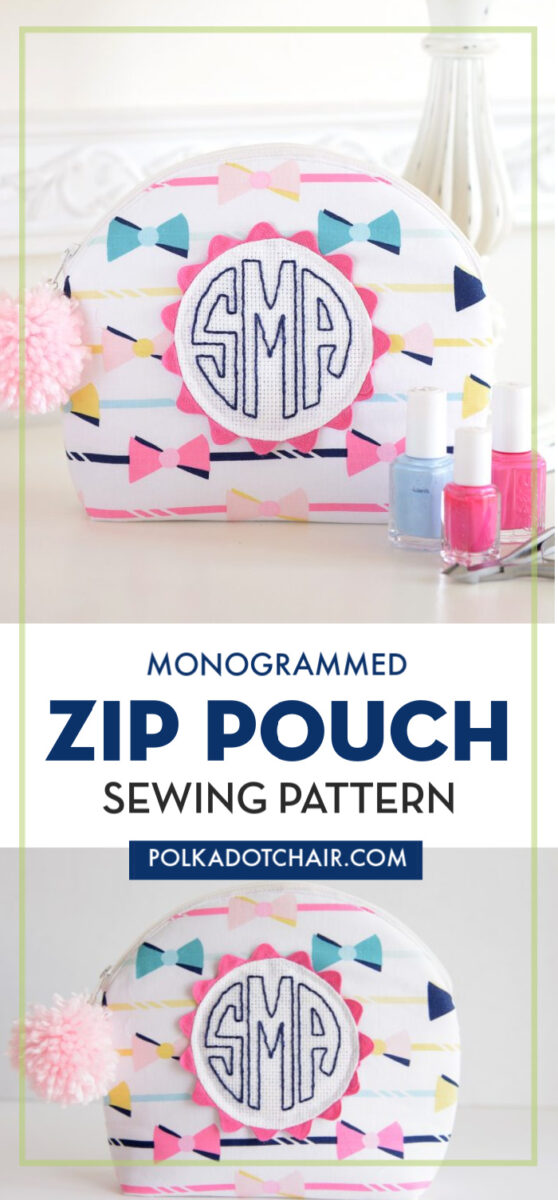
Monogrammed Curved Zip Pouch Sewing Pattern
If you’d like to make one too, here’s what you’ll need:
Supplies
- ½ yard of fabric for the pouch outside
- ½ yard of fabric for the pouch lining
- 14″ zipper
- ½ yard of Pellon Flex-Foam
- 6″ x 6″ or larger square of cross stitch fabric
- Cotton Embroidery Floss
- Cross Stitch Needle
- Embroidery Hoop
- Package of Jumbo Ric Rack
- Fabric Safe Pen
- The pattern piece for the pouch (see instructions below)
How to Get the Pattern Piece
Fill out the form below and we will email you the pattern piece for the makeup bag.
All seam allowances are ½″ unless otherwise noted.
Step One: Create your Cross Stitch Monogram
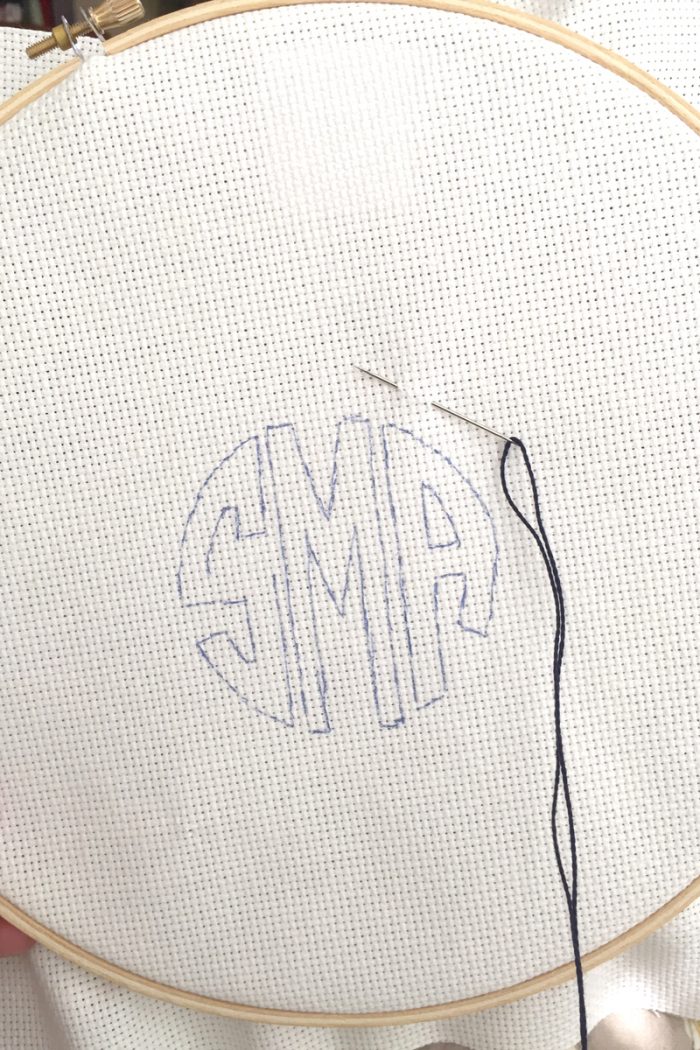
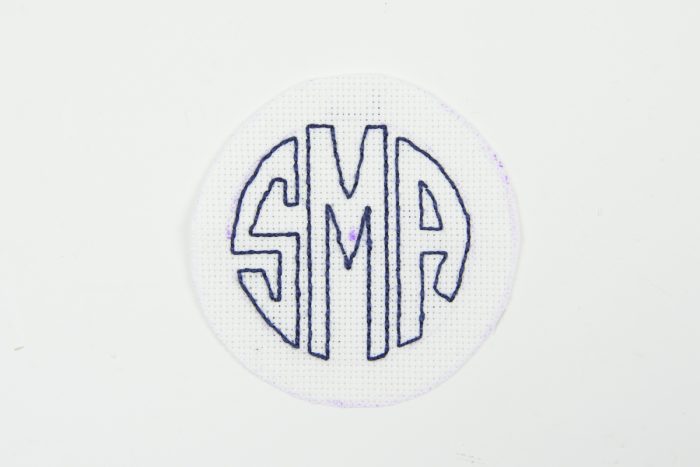
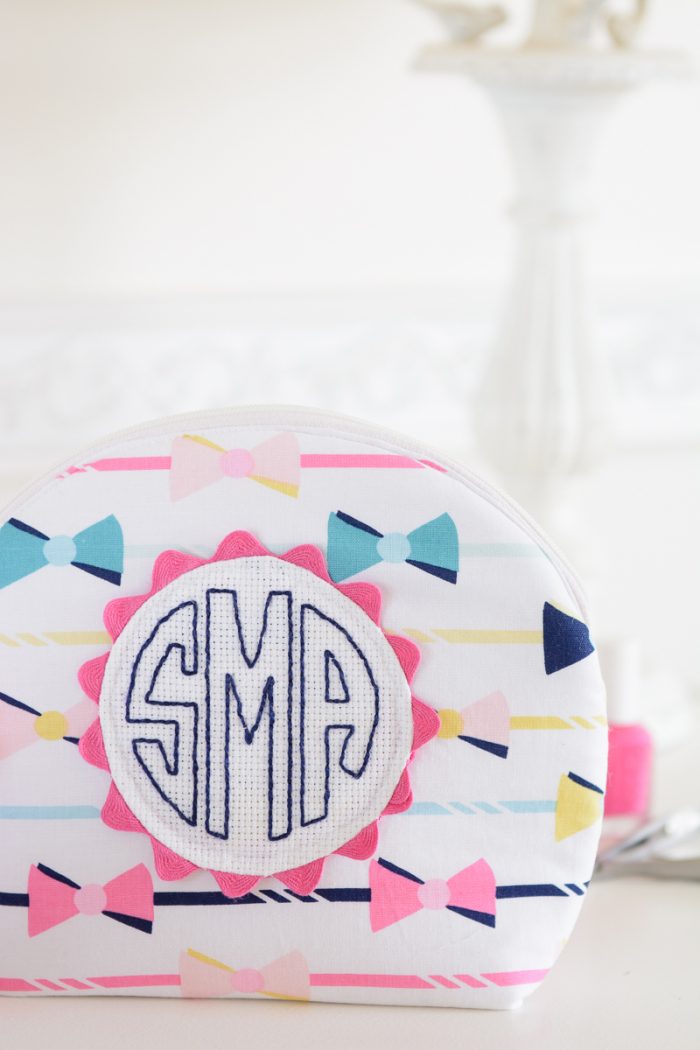
I chose to create a circle monogram for my zip pouch. I used a circle monogram font (you can find them for free online) and printed it out so that it was 3″ x 3″. To make this you’ll need to use a word processing program or free editing software like PicMonkey or Canva.
I then placed the placed-out monogram and cross-stitch fabric on a lightbox (you can also use a window) and traced the monogram onto the fabric with a fabric pen (the ink disappears with heat).
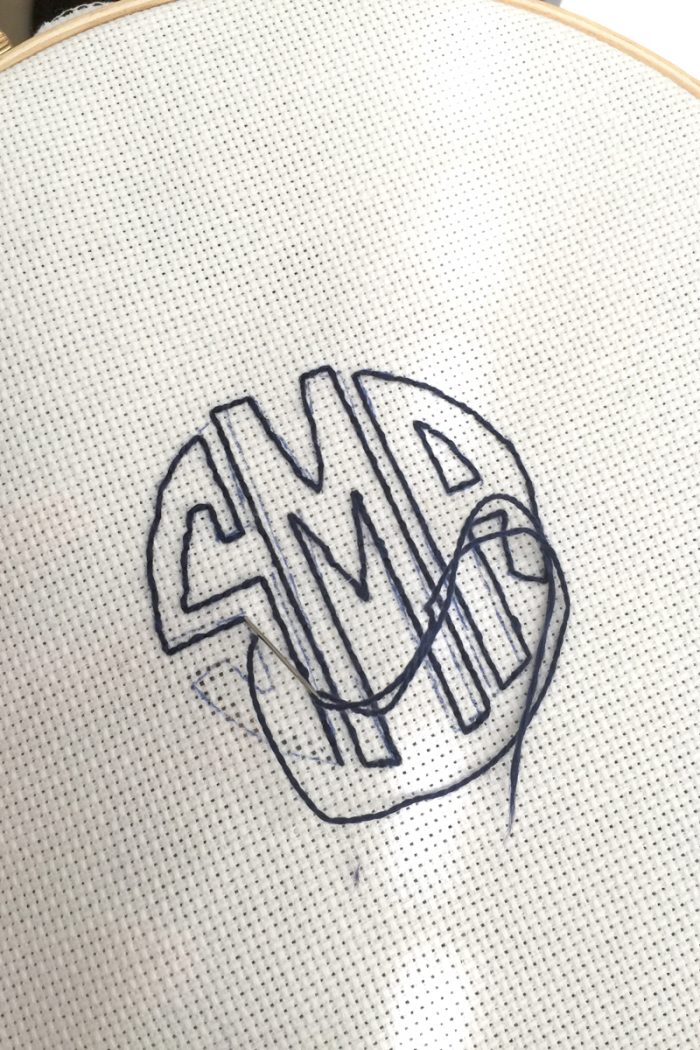
After you have created your monogram, stitch the outline. I did not use a cross-stitch, but rather a simple back-stitch. I also tried to stay within the “holes” on the fabric as much as possible. On the curves, I was not able to do this, and just stitched where I needed to.
A few things to note:
You don’t have to use cross stitch fabric, you can use regular cotton fabric, but I liked the texture that the cross stitch fabric added to the project. You also don’t need as large of a piece of fabric as I used. I only had one embroidery hoop and had to cut the fabric to fit inside of it. If you buy a smaller hoop and you can use less fabric.
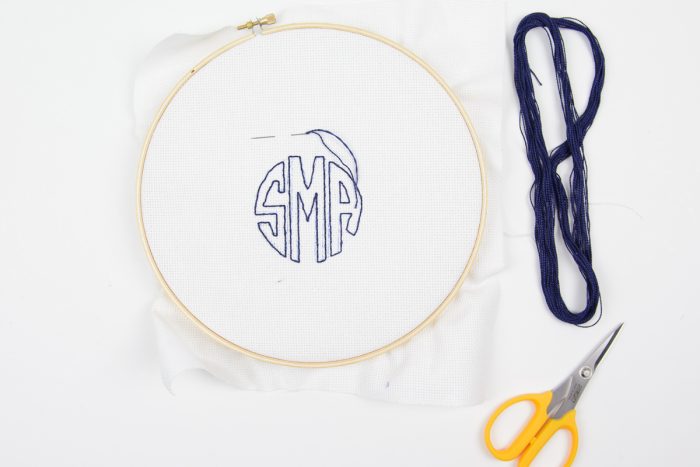
After you have finished your monogram, cut it out in a circle shape leaving a ¾″ border around all of the stitches. I think it’s best to find a circle at your house that you can trace for this step. Make sure you keep the monogram in the center of the circle, trace a larger circle around it and cut it out.
Step Two: Finish the Monogram
Next, take your ric rack and pin it to the exterior of the circle. The center of the ric rack will touch the raw edge of the monogram (as shown below).
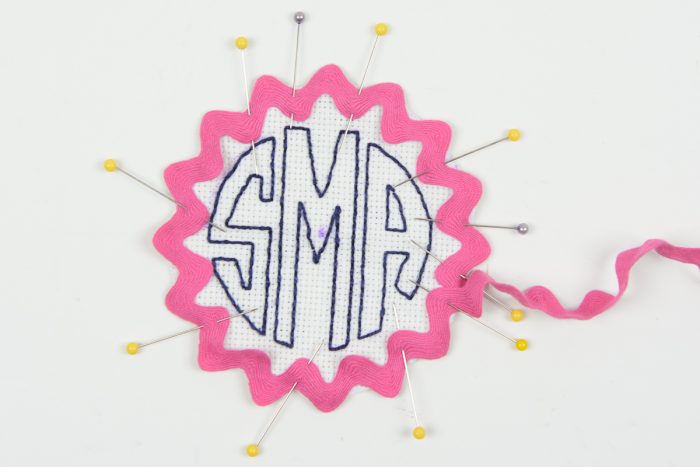
Stitch the ric rack to the monogram by stitching right down the center of the ric rack. Pivot frequently and go slowly so that you get a nice circle as you stitch.
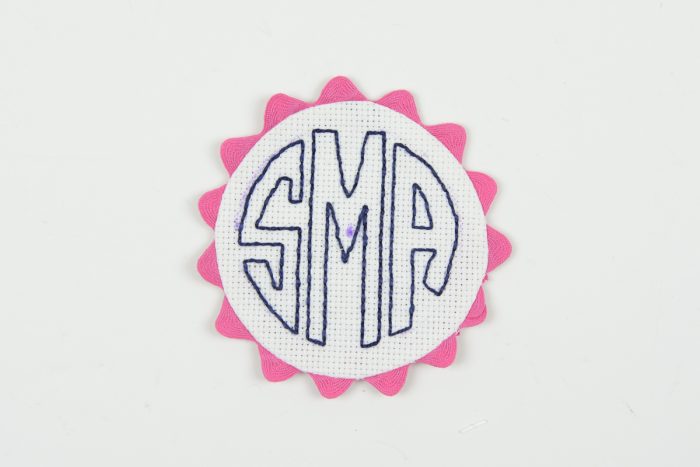
Fold the ric rack to the back and press. Set aside.
Step Three: Cut out the Fabric Pieces for the Pouch
From your pattern piece cut out:
From fabric, 2 pieces for the pouch outside
From fabric, 2 pieces for the pouch lining
From foam, 2 pieces for the pouch interfacing
Stitch the Sewn Monogram to the Pouch:
Stitch the monogram to the center front of one of your pouch outside pieces approx 2″ down from the top of the arch.
Step Four: Sew the Zipper to the Pouch
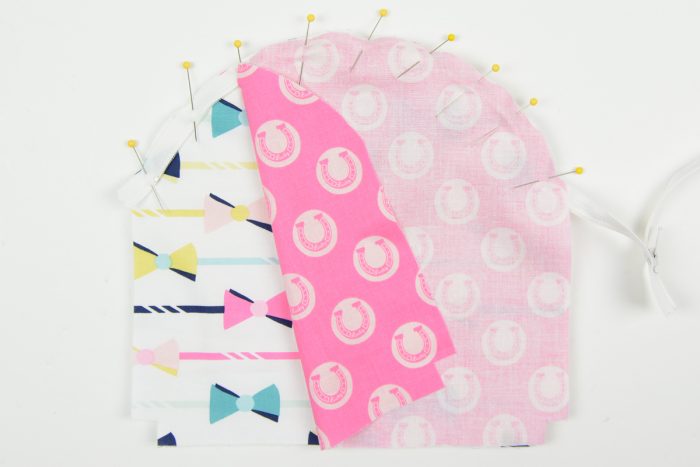
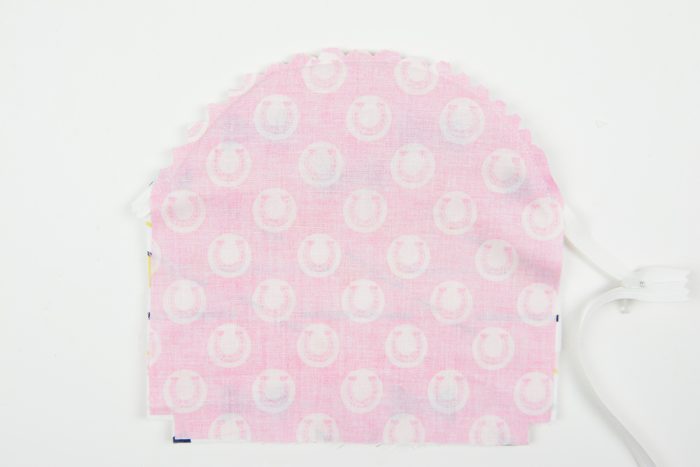
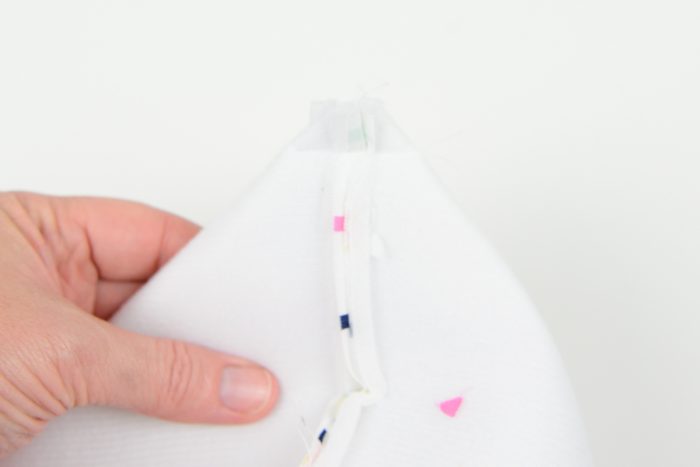
Place the cut foam piece behind the cut pouch outside piece. Pin the right side of the zipper to the right side of the pouch along the top arch. The zipper is longer than the pouch, but that is okay.
Next, place the pouch lining piece on top so that the right side of the lining is facing the wrong side of the zipper. Pin in place. (You’ll have lots of pins).
Next, stitch through all the layers using your zipper foot, use the width of your zipper foot as a guide, and your seam allowance should be between ¼″ – ⅜″. Stitch with the foam side up so that the feed dogs on your machine will help to feed the lining piece through evenly.
Clip the curve.
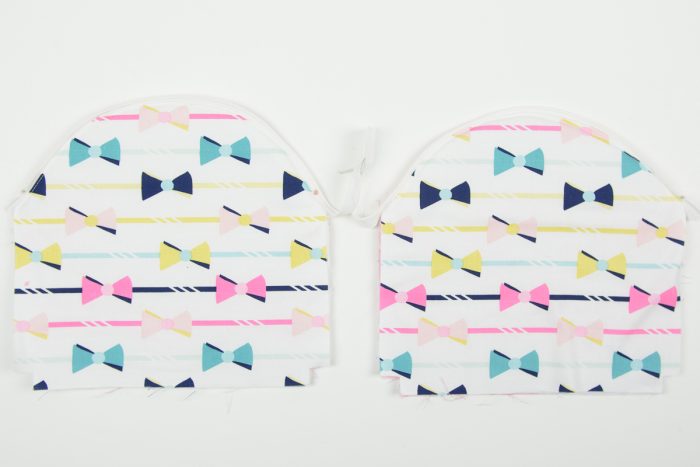
Repeat for the other side of the zipper.
When you’re done you’ll have a piece that looks like this. Top stitch along both sides of the zipper.
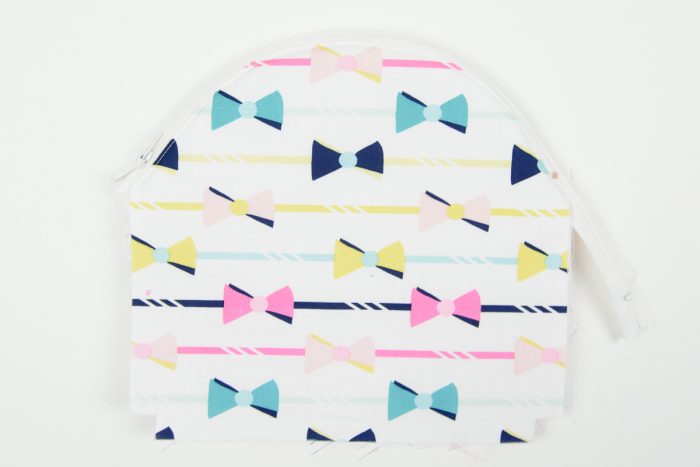
Take a second and zip it up to make sure that you’ve inserted the zipper correctly.
Step Five: Assemble the Pouch
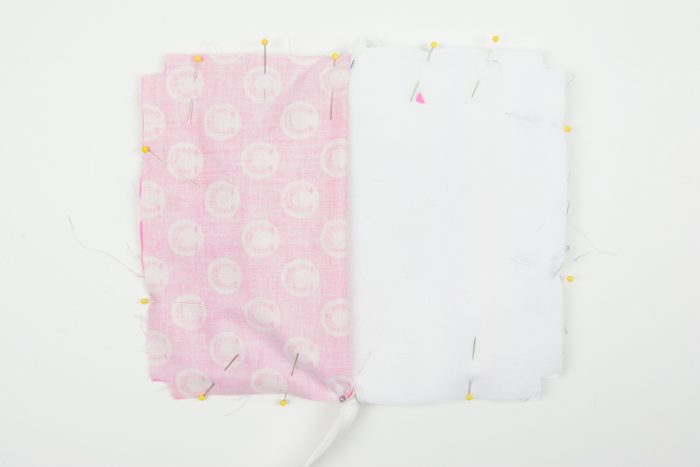
Unzip the zipper halfway.
Pin the right sides of the pouch outside piece together (including the foam) and pin the right sides of the pouch lining together.
Stitch around the perimeter of the pouch leaving a 3″ opening in the lining piece so that you can turn the pouch right side out. Leave the cut-out square shapes in the corners unstitched.
Create the Bottom Corners:
Pinch all 4 corners of the pouch and stitch 1″ up from the cut raw edges. Cut off the extra part of the zipper.
Turn the pouch right side out. Stitch the opening in the lining closed and you’re DONE!
Add a Pom Pom Pull:
If you’d like to make the pom-pom to attach to the zipper you can find a tutorial on my blog to make one.
This post originally appeared on SewMamaSew but I have reposted it here since their site is no longer active.
You May Also Like:

Anita says
This one looks cool, girls would love it!
Martha says
Love this one…am a big fan of your work!
liz n. says
*Gasp!*
That little pouchy-baggy-case thingy is ADORABLE!!
*Adds zippers to shopping list*
I know what my next sewing project is!!
LadyD says
Love your fabric! Headed over now to look at that tutorial.
Anita says
My tween daughter would love this book. And she would be so excited to win such fun fabric. She just loves pink and blue. Okay my fingers are crossed.
Ilene says
My daughter would just love one of these bags made up for her! Thanks for the great giveaway!
Joan M says
Such a cute pouch ! Thanks for the tutorial and the chance to win.
Elaine says
This looks like a great gift idea and the Derby fabric is so cute!
HeatherK says
Very cute! I can see making a pile of these. Thanks for the tutorial!
Pat S says
Love your fabric and your pouch – so pretty!!!
Katrina H says
I love the fabrics chosen for the pouch!
Vanessa B says
Adorable zip pouch! Love all the Derby fabrics and that pompom on the end…CA_UTE!
Amy Anderson says
what an adorable pouch. I love the ric rac in the circle.
sara says
Love that bag! Especially since it combines two of my favorite mediums!!!
Shirley JB says
Sooo cute!
Anneliese says
This is really a pouch my pre-teens would love to have! Thanks for the tutorial
Diane says
Love your fabric and following your blog
Sonja Kuvik Loyd says
So nice,Its perfect for my girl!
Lisa Eck says
I love this bag, and the print is so cute! I’m adding this bag to my project list and I just can wait to make one ☺
Jinger says
Thank you for the tutorial. I love Sew Mama Sew and the Polka Dot Chair!
Cassandra says
Such a cute little pouch’. The details of the embroidery and the Pom Pom pull are so cute!
Emma says
how cute! I know my sister would love it 🙂
Lynne Tilley says
I love the arch top on this pouch. I’ve never done one like this. I’m definitely going to try this! Thanks for the giveaway chance. Love that fabric, too!
Theresa M. says
I love quick projects like zipper bags! I have 3 daughters and 7 nieces so there is always someone that wants one! Thanks for the tutorial and the great give-away!
Deby at So Sew Easy says
This is very pretty, I’d love to be able to do this kind of smart embroidery. Thanks for the giveaway.
Debra says
I love the fabric and the pouch.
Linda says
This would be a great Christmas present for all of my nieces and granddaughters! Thanks so much.
Mihla says
Love everything about this cute bag!
Delaine says
This book looks absolutely awesome! Thanks!
Kerri says
Thanks for the great tutorial! I always struggle with zippers and curved seems, so this is a great project to help build those skills! Will try this for my daughter away at college.
Melissa says
Great tutorial! So excited to have found some “older” sewing patterns for the kiddos. Thank you.
Laurel says
Love the pouch. I bought some Derby Style to make a pouch for my daughter’s friend as a gong away present. I’ll send you a picture when I get it done.
Jens says
Thank you for the idea, especially the circular monogram. Now I know how to personalize pouches even if my friend’s girls want to have the same fabric.
Megan says
What a cute pouch! Thanks for the giveaway!
Heidi Medhurst says
Great fabric for the project! Thanks for the giveaway. Have a happy day 🙂
Nicole h. says
Darling bag and I love your coat of arms!
lynn zukowski says
this pouch has a unique shape- and who wouldn’t love to have something personalized especially for you? you don’t have to be a teenager to love this gift!
Shannon M. says
I absolutely adore your fabric and I’m so excited about this project!! I’m going to make one tomorrow! Thanks!
gale kohler says
Love this pouch and would love to make it for my daughters wedding party, the link to sewmamasew is no longer active where can I find the pattern?
Let me see if I can find it in the archives and republish it here.
Karen Kelly says
Can you please disclose the name of the fabric you used? It’s so fun!!!
It’s from my Derby Style line with Riley Blake, I don’t think it’s available any longer.