
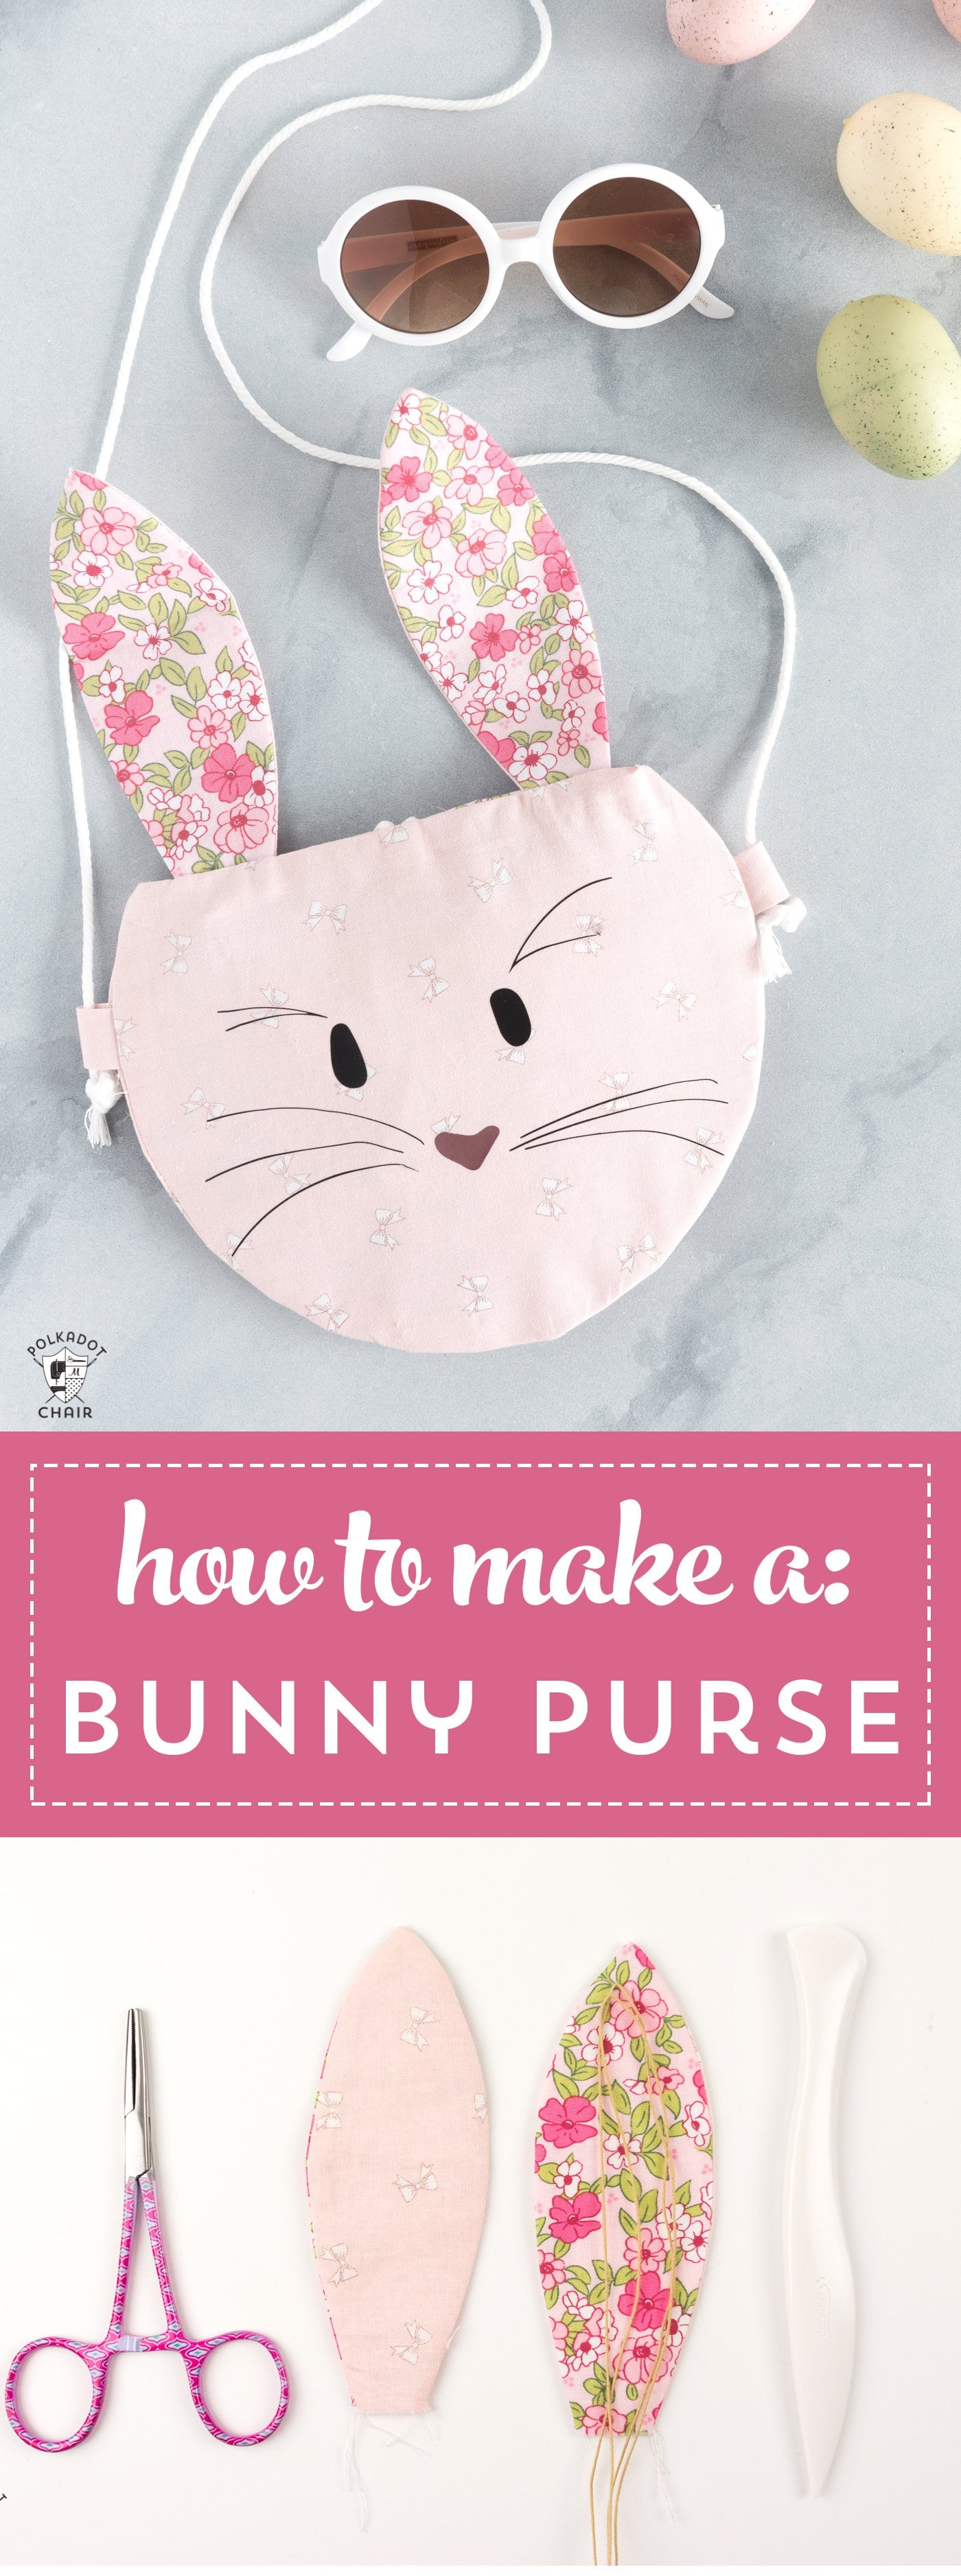
Easter is right around the corner and I’m assuming that Spring will decide to make an appearance at some point! Today to celebrate the upcoming Easter holiday, and the eventual arrival of Spring, I’m sharing a free bunny purse sewing pattern designed especially for the Cricut Maker!
Keep reading to find out how to make this sweet bunny rabbit purse. It’s a pretty quick sew, you’ve still got time to make one before Easter. I work as a Brand Ambassador for Cricut, this is sponsored content.

Bunny Purse Sewing Tutorial
Table of Contents
A few months ago for my Cricut project, I shared a free sewing pattern for fabric baskets. The pattern was really popular so I thought for this month’s Cricut Project that you guys might like another Cricut Maker sewing pattern! If you don’t have a Cricut Maker don’t worry, I’ll give you a few suggestions to make the pattern without it later in the post.
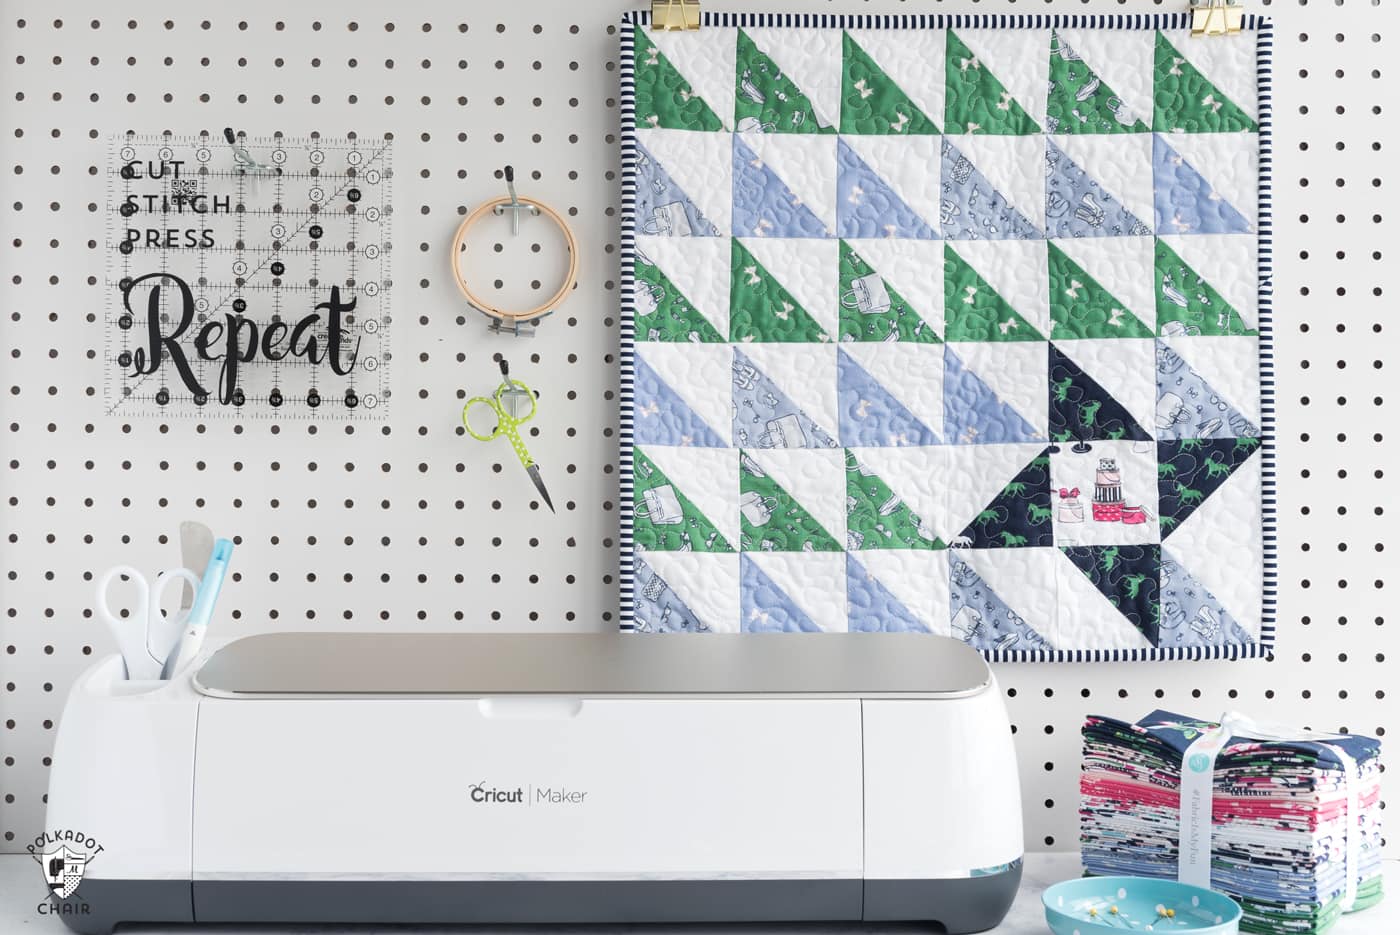
About the Cricut Maker
If you’re just jumping into my tutorial series on the Cricut Maker, you can CLICK HERE to read a bit about what the Maker is and what it can do. You can also CLICK Here to see an index of all of my Cricut posts to date.
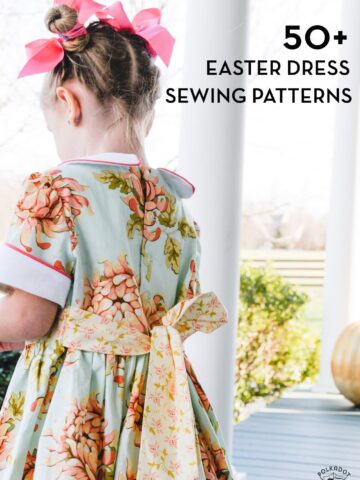
When my girls were little I used to LOVE sewing Easter dresses for them. I’d usually start months in advance dreaming up the projects, I would inevitably be sewing right up until we left for church on Easter Sunday. I always had intentions of sewing matching purses for their dresses, yet never seemed to manage my time well enough to actually get them made before the big day.
I thought that you guys might enjoy a quick Easter Sewing project idea in case you’re not done making the Easter Dresses either! You could just make a simple bag instead (the purse would also be fun at any time of the year if you have a little one that loves bunnies).
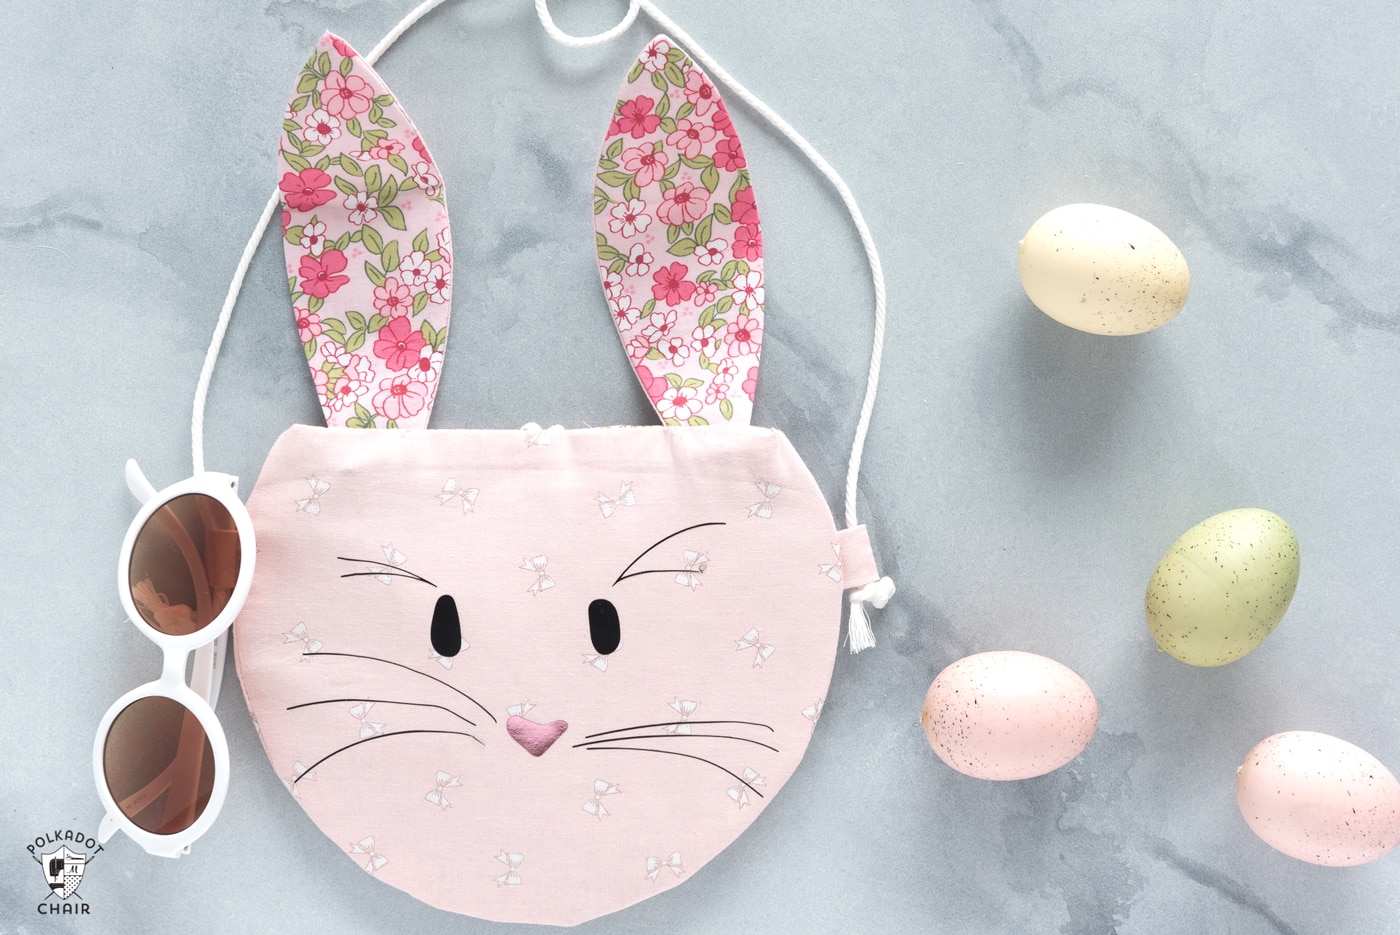
About the Bunny Purse Tutorial:
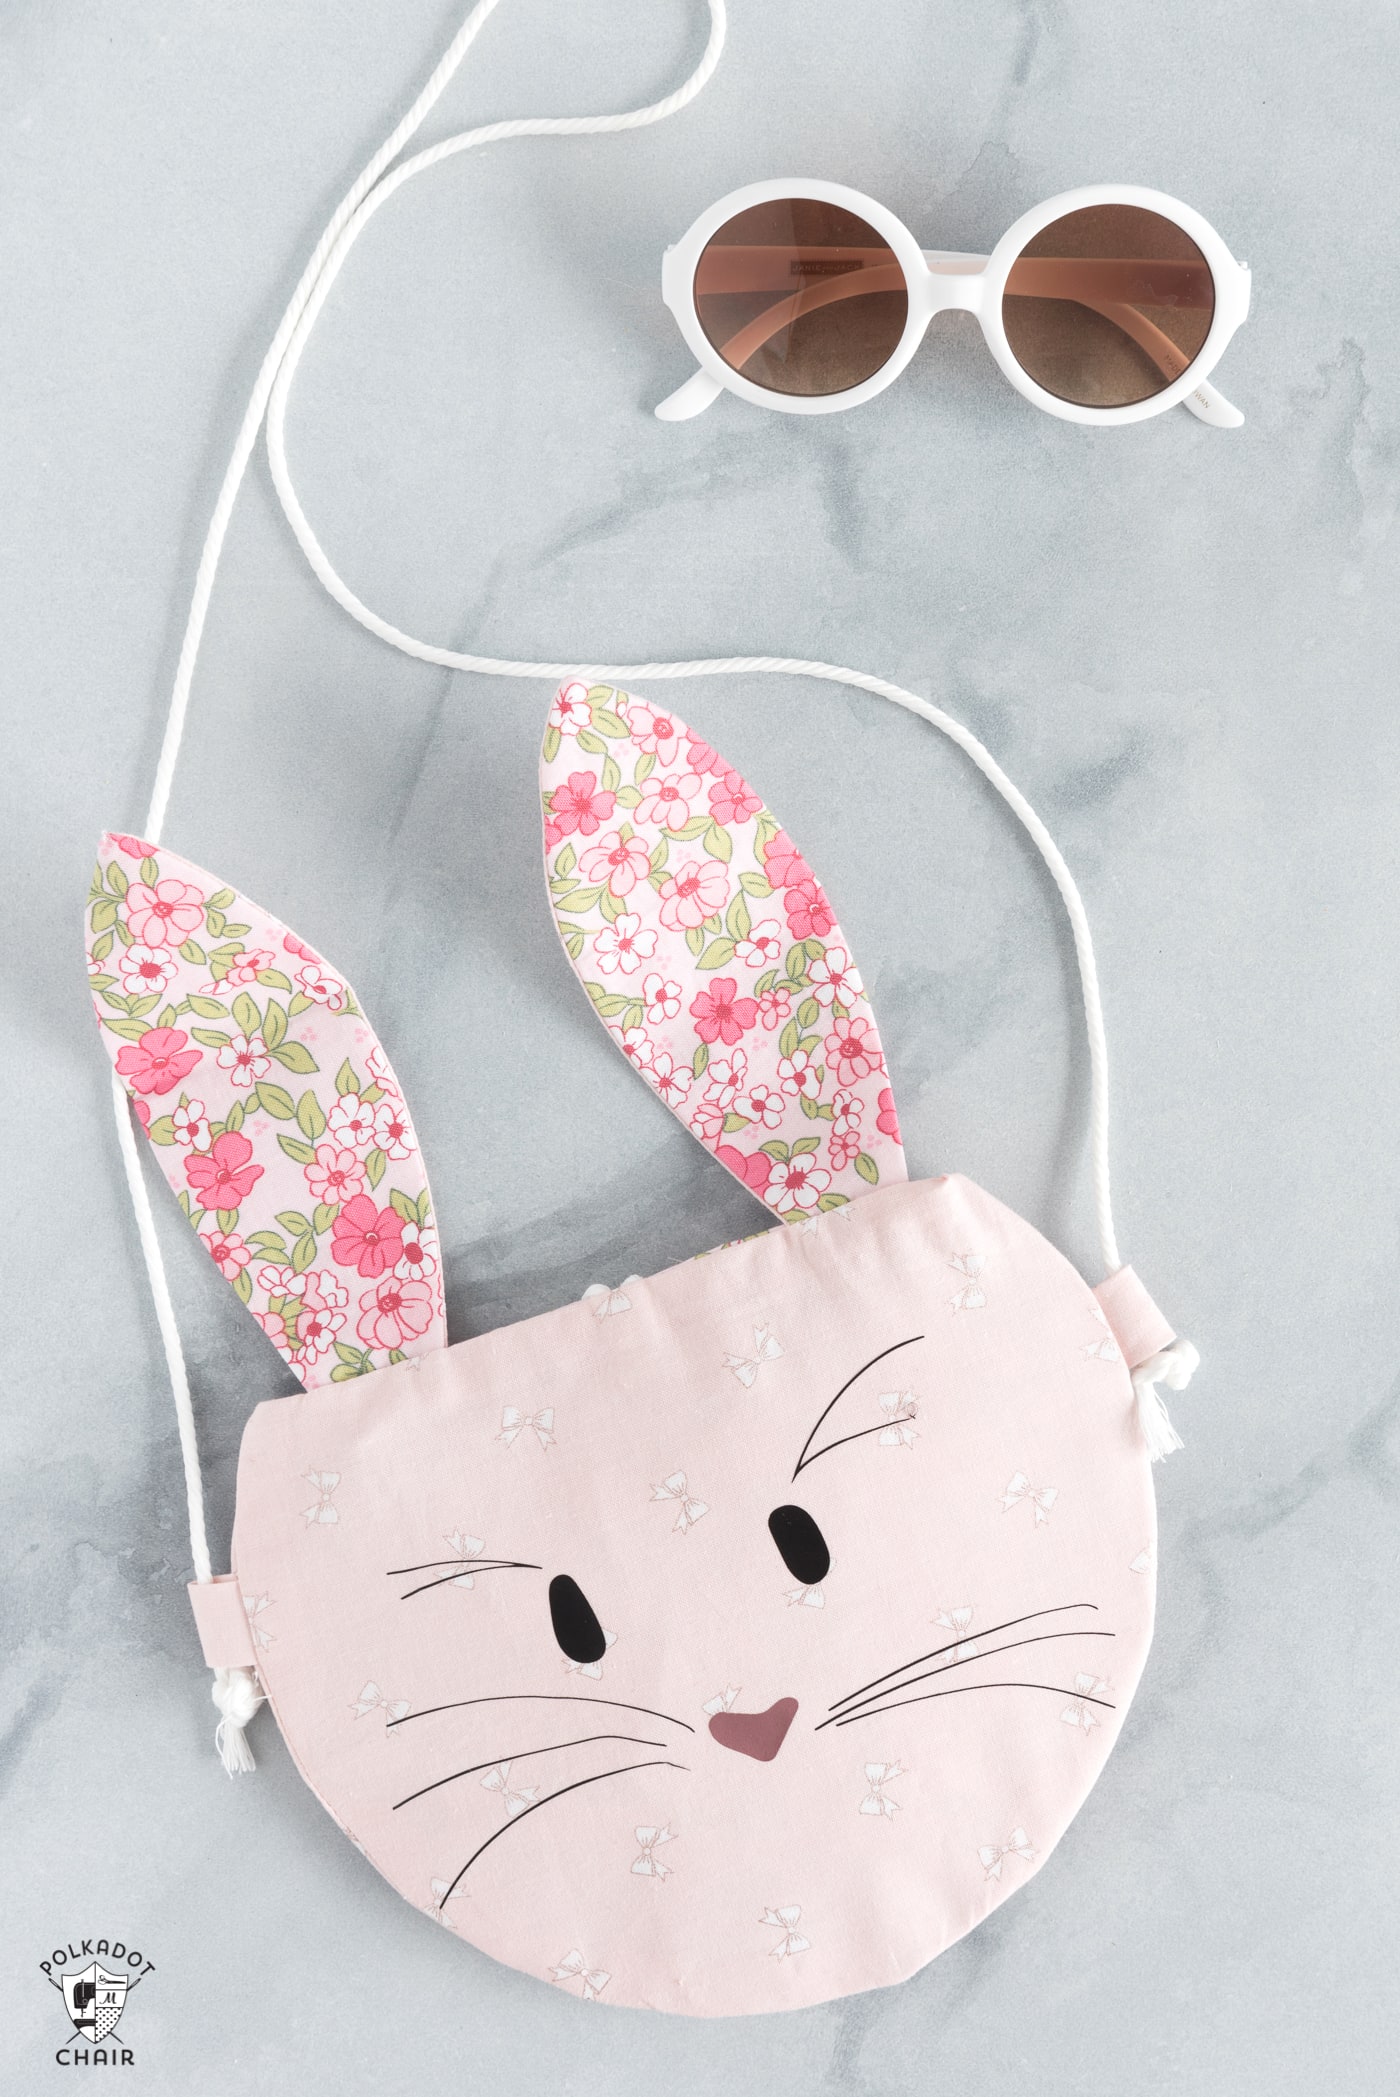
The bunny on the bag was inspired by my bunnies from my Wonderland line of fabrics.
The bunny bag is constructed by using two of the features of the Cricut Maker 1- the Fabric cutting feature and 2- the Iron On Cutting Feature. I also used my Cricut EasyPress to adhere to the bunny face to the front of the bag.
Okay, are you ready to make one?
Bunny Purse Sewing Pattern
To make this bag you’ll need a few supplies.
If you don’t have the Cricut Maker you can download the PDF of the pattern HERE. You won’t be able to add the iron on for the face though. You need a vinyl cutting machine for that step. However, if you have a Cricut Explore, you can use that to cut out the iron-on.
Supplies for Bunny Bag
- ½ Yard Fabric for Bunny Outside (fabric is the bow print from the Derby Day Fabric Line)
- ½ Yard Fabric for Bunny Ears/Lining (fabric is the floral print from the Wonderland Two Fabric Line)
- About ½ Yard Pellon Decor Bond Interfacing
- 2 yards Small Cotton Rope, Twine or Ribbon
- 1″ Button
- 2 Pieces Floral Wire
- Cricut Maker Machine
- Fabric Cricut Cutting Mat (12″ x 24″ size recommended)
- Regular Cricut Cutting Mat
- A scrap of Pink Iron-on Lite Vinyl
- Black Iron-On Lite Vinyl
- Cricut EasyPress
- SVG File for the Bunny Bag Cut out- Download on the Cricut Downloads Page- CLICK HERE
Bunny Purse Cutting Directions
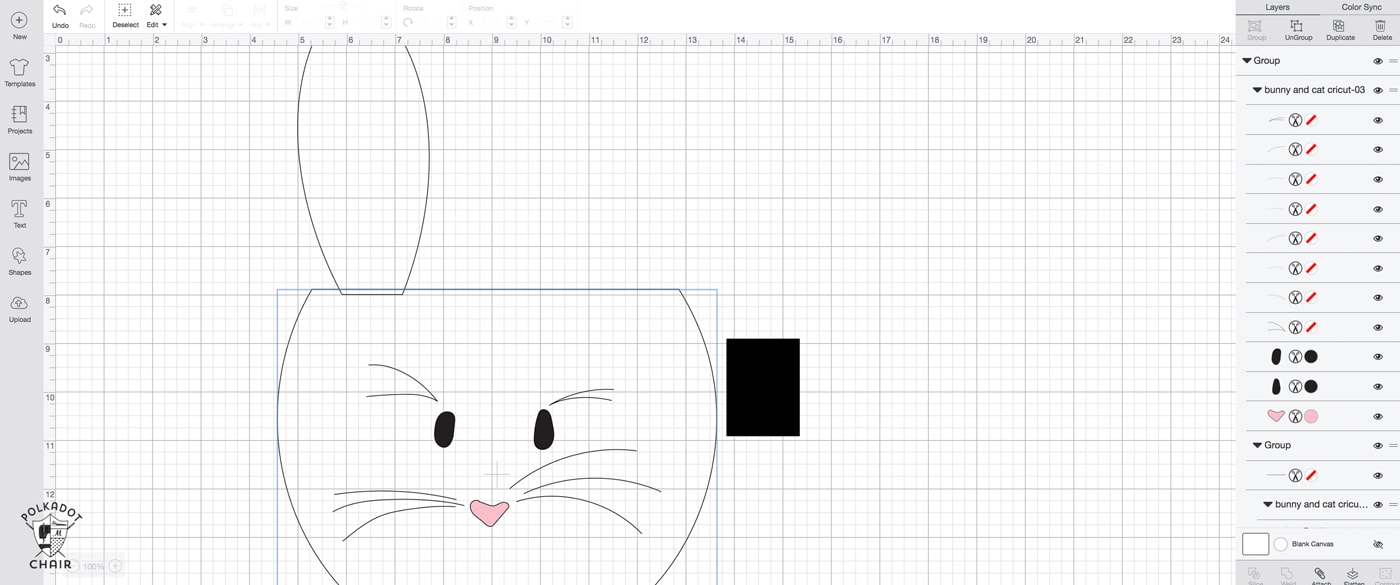
Download the Bunny SVG file and upload it into Cricut Design Space. You’ll notice that the ENTIRE image comes in at the same time. We are going to do a few things to tell the machine what to cut from fabric and what to cut from iron-on vinyl.
Cricut SVG File: Note: all files in the Library are for personal use only. You may not sell items you make with the files. To get these files into the Cricut Design space, you need to visit OUR CRICUT LIBRARY and follow the directions. When prompted, select the button and save the file as an SVG to your computer. Please do not open it in a new window. It will load as an image, not an SVG. Next, go to the Cricut Design Space page with your browser. Select NEW when the screen pops up; select IMAGE. Then select – upload. Upload the image you obtained. It’s ready to use in Design Space!
After you import the file click SAVE and call the file BUNNY.
Lets cut the fabric for the purse first.
On the right layers panel, click the eyeball icon to hide the bunny face. You’ll be left with the bag outline, a rectangle, and the ears.
Click SAVE AS and call this file Bunny 1.
Now, with your mouse highlight all of the bag shapes and click ATTACH. This will tell the machine to cut the bag piece all at once (versus cutting a straight line and a curve not attached to each other). Do the same thing with the bunny ears piece.
How to Cut Fabric with the Cricut Maker
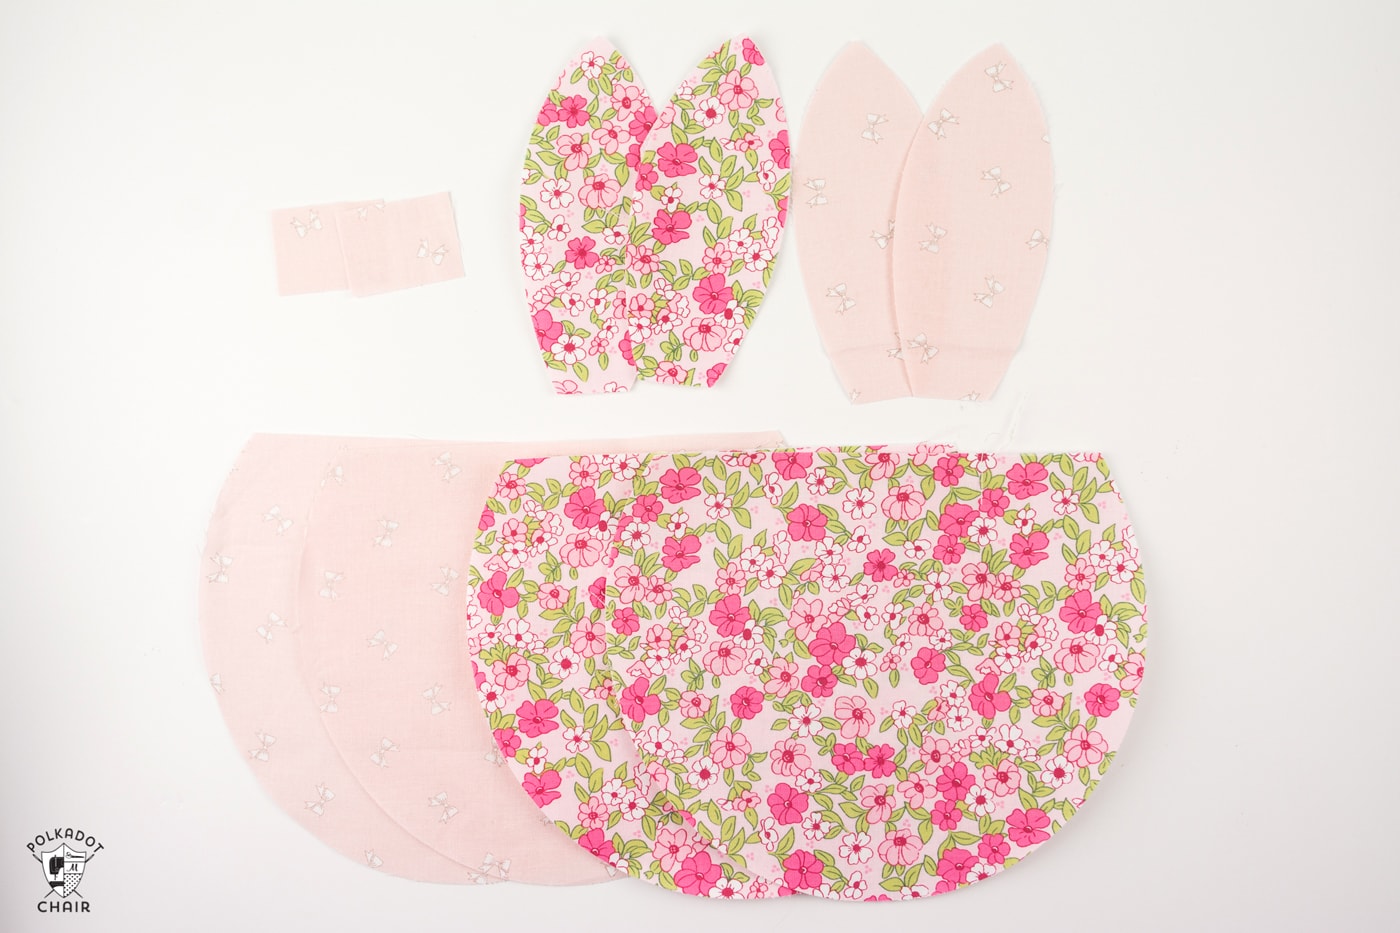
For this pattern, you need to cut:
From your bag outside fabric, two bag outside pieces, two bunny ears and two rectangles.
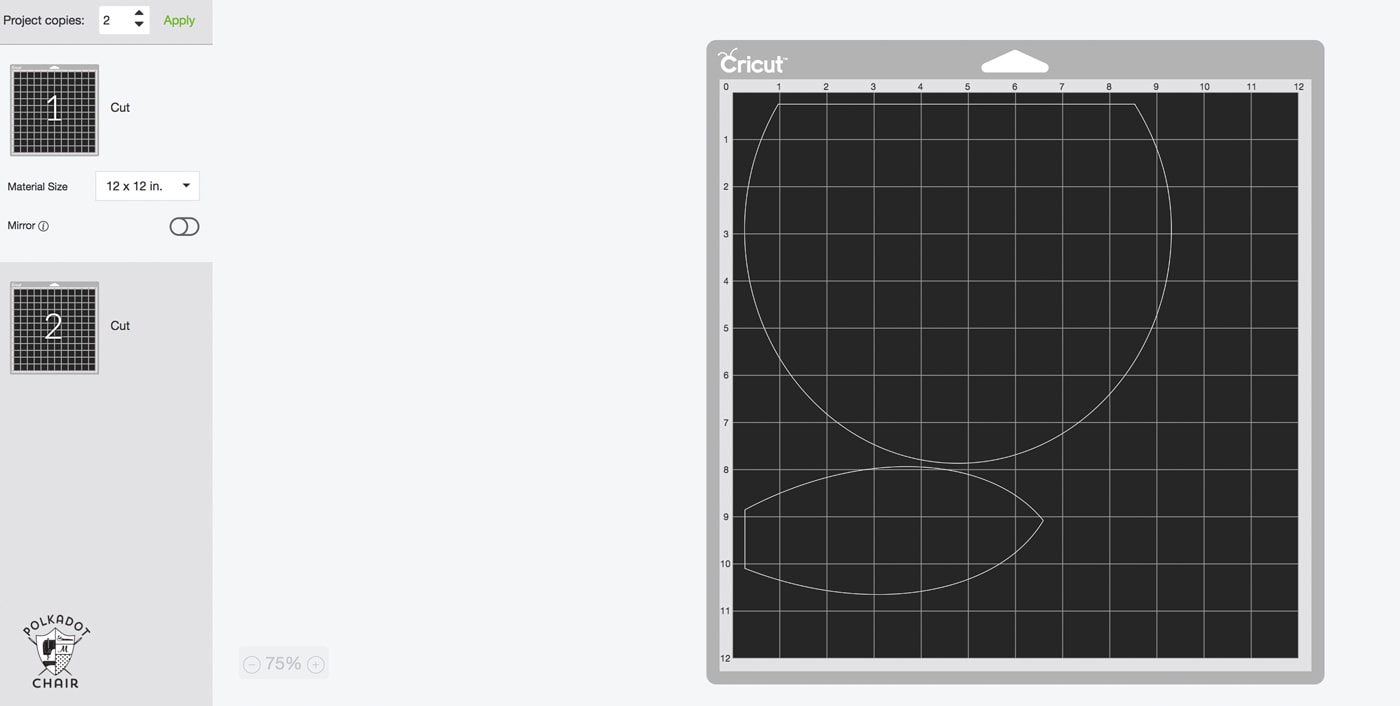
To do that, click the MAKE IT button and send the design to the Cricut Maker. Tell the machine to cut 2 copies of your items.
It will automatically put the pieces on the mats in the most efficient way possible. I realized that with a 12″x 24″ cutting mat was a more efficient use of space than two 12″ mats, so I changed my media size to 12″ x 24″. I then proceeded to cut out my bag pieces.
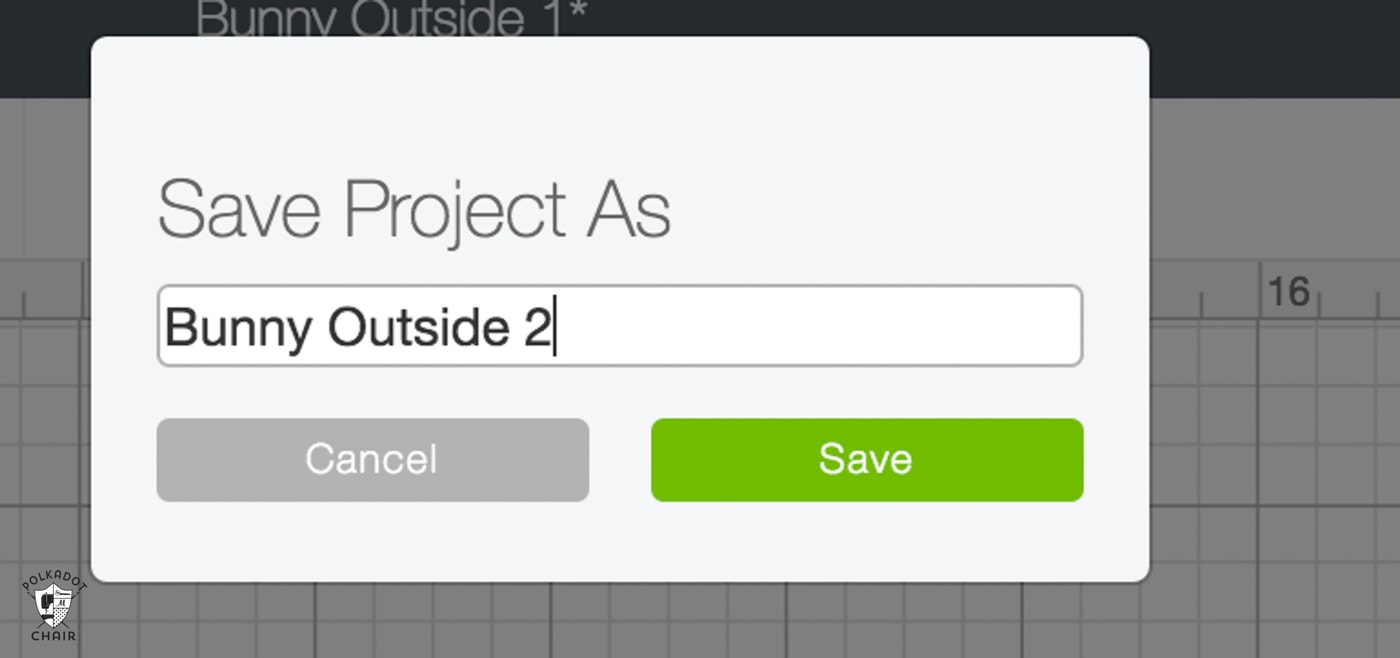
Next, you need to cut out your lining and interfacing pieces. For this part, you do not need to cut out the rectangle. Delete the rectangle then click SAVE AS and call this file Bunny 2.
You can either cut your interfacing separate OR you can iron it onto your fabric and then cut it out. It’s up to you. I prefer to iron it on the fabric then cut it out.
You need to cut:
2 ears from fabric AND interfacing
2 bags from fabric AND interfacing.
Next Step: Iron Ons
After you have cut out your fabric pieces, close the file. If you didn’t iron the interfacing on your piece first, do it now. Adhere the interfacing to the wrong side of the bag lining pieces.
TIP: You can hand-embroider the face on the bunny as well. To do this, just trace the image from the PDF download onto the fabric pieces and stitch using a simple embroidery backstitch.
Next, go to your library and open the BUNNY file. Hide all of the pieces EXCEPT the bunny face.
Click UNGROUP to ungroup the bunny facepieces. Then move the nose out of the way and change the color to PINK on the right layers palette.
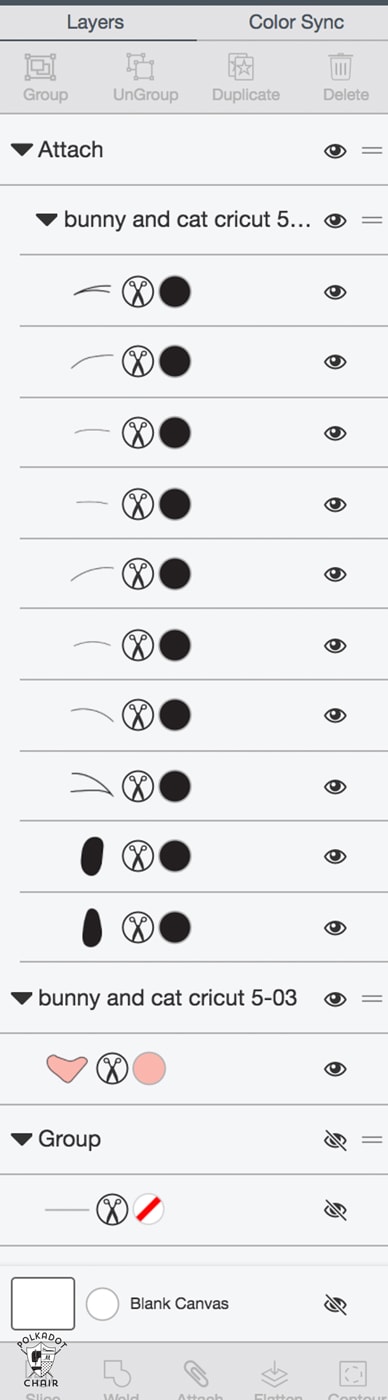
Highlight with your mouse all of the eyes and whiskers pieces. Click ATTACH on the right-hand side. This tells the machine to cut out the eyes and whiskers together and to cut the nose on a different mat (So that it’s a different color, if you want it black too, you can just attach all of the items to each other).
Cut Out the whiskers, eyes, and nose from Iron-on Vinyl:
Follow the prompts on the screen to cut out the whiskers, eyes, and nose from Iron-On Vinyl. Make sure you use your regular mat and blade and tell the machine to “mirror” your image. If you need help cutting out iron-on, you can click HERE to read an entire tutorial JUST on iron-on.
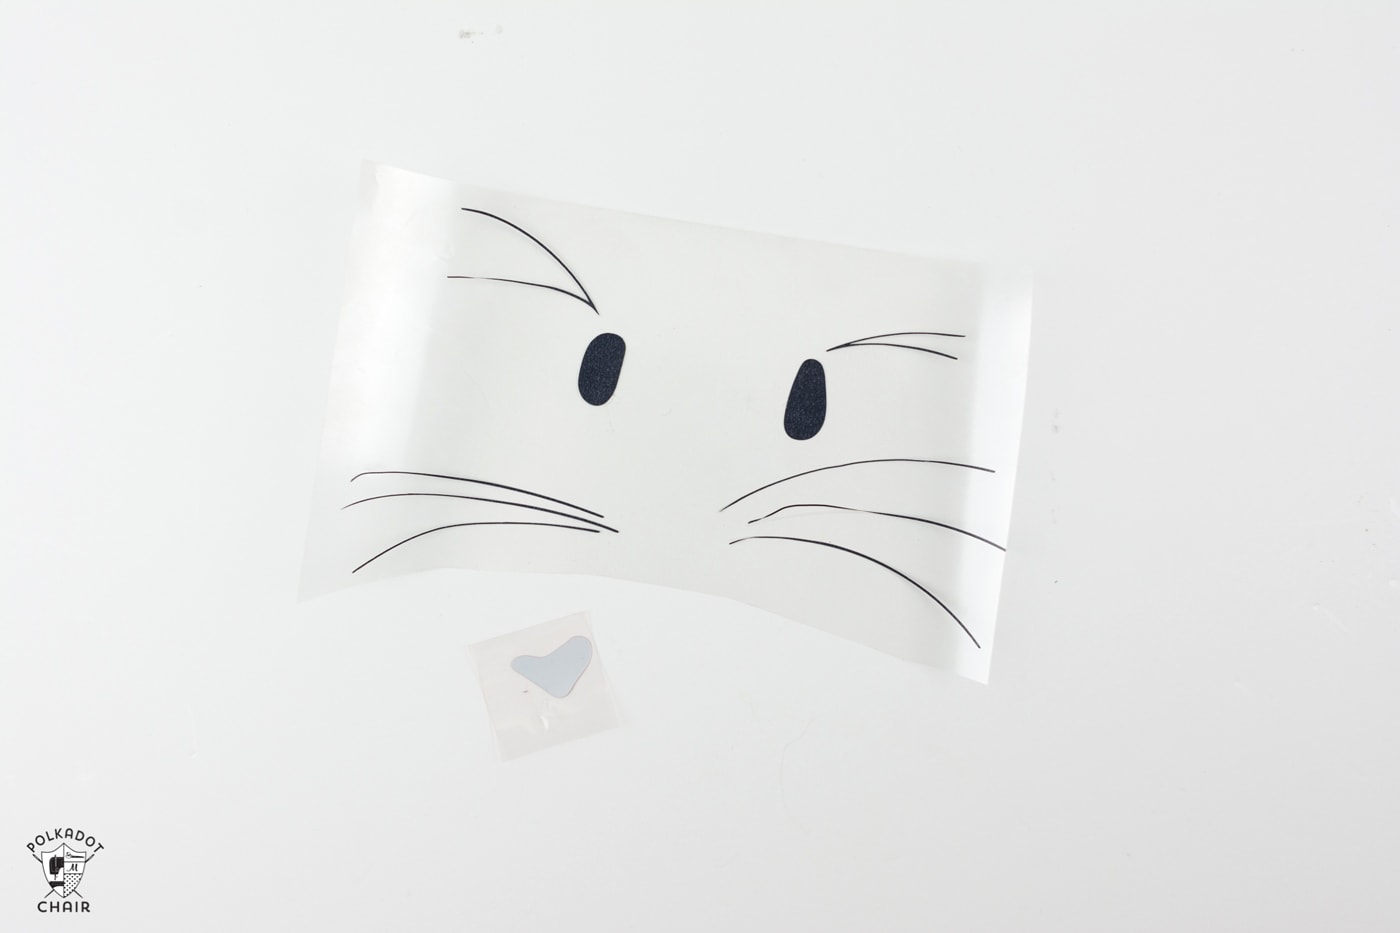
Peel away the excess iron-on vinyl from the bunny face and set aside.
How to Sew the Bunny Purse
Step One; The Ears:

Pin one ear cut out piece outside piece right sides facing with one ear lining piece. Stitch together with a ¼″ seam allowance leaving an opening in the bottom of the ear. Turn the ear right side out. To make this easier, I use a turning tool. Once the ear is right side out, use a hera tool (the tool on the far right) to smooth out your shape. Press and steam the ear until you like the way it looks.
Fold your floral wire in half then in half again. Feed the wire into the ear so that the point is near the point of the ear.
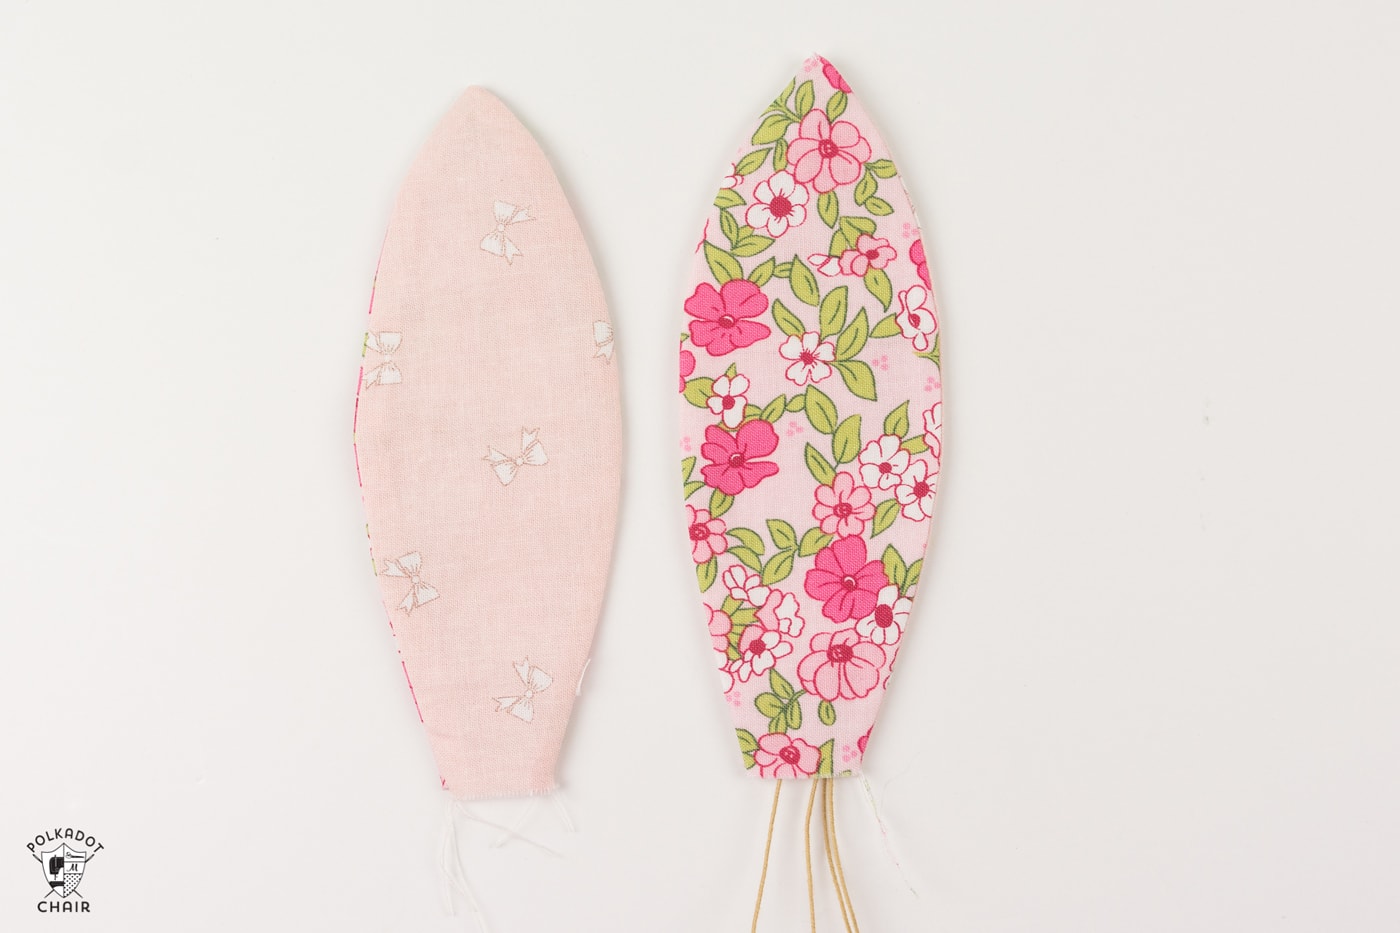
Stitch the wire in place. Clip off the excess wire. Repeat for the other ear. Set aside.
Step Two; Sew the Bag:
Note: if you are planning to hand embroider the bunny face you need to do it before you complete the following steps.
Fold the long edges of one of the rectangles towards the center. Press. Fold this piece in half. Repeat for the other rectangle piece.

Pin the rectangles to the right side of the front bag outside piece. They should be 2″ down from the top edge.
Pin the two ears to the straight side of the bag, 1″ in from the edge of the bag. Stitch the ears and the rectangles in place. Cut a 3″ piece of cotton string/rope/ribbon and fold it in half. Place it raw edges up on the bag front piece right in the center. Stitch it in place.
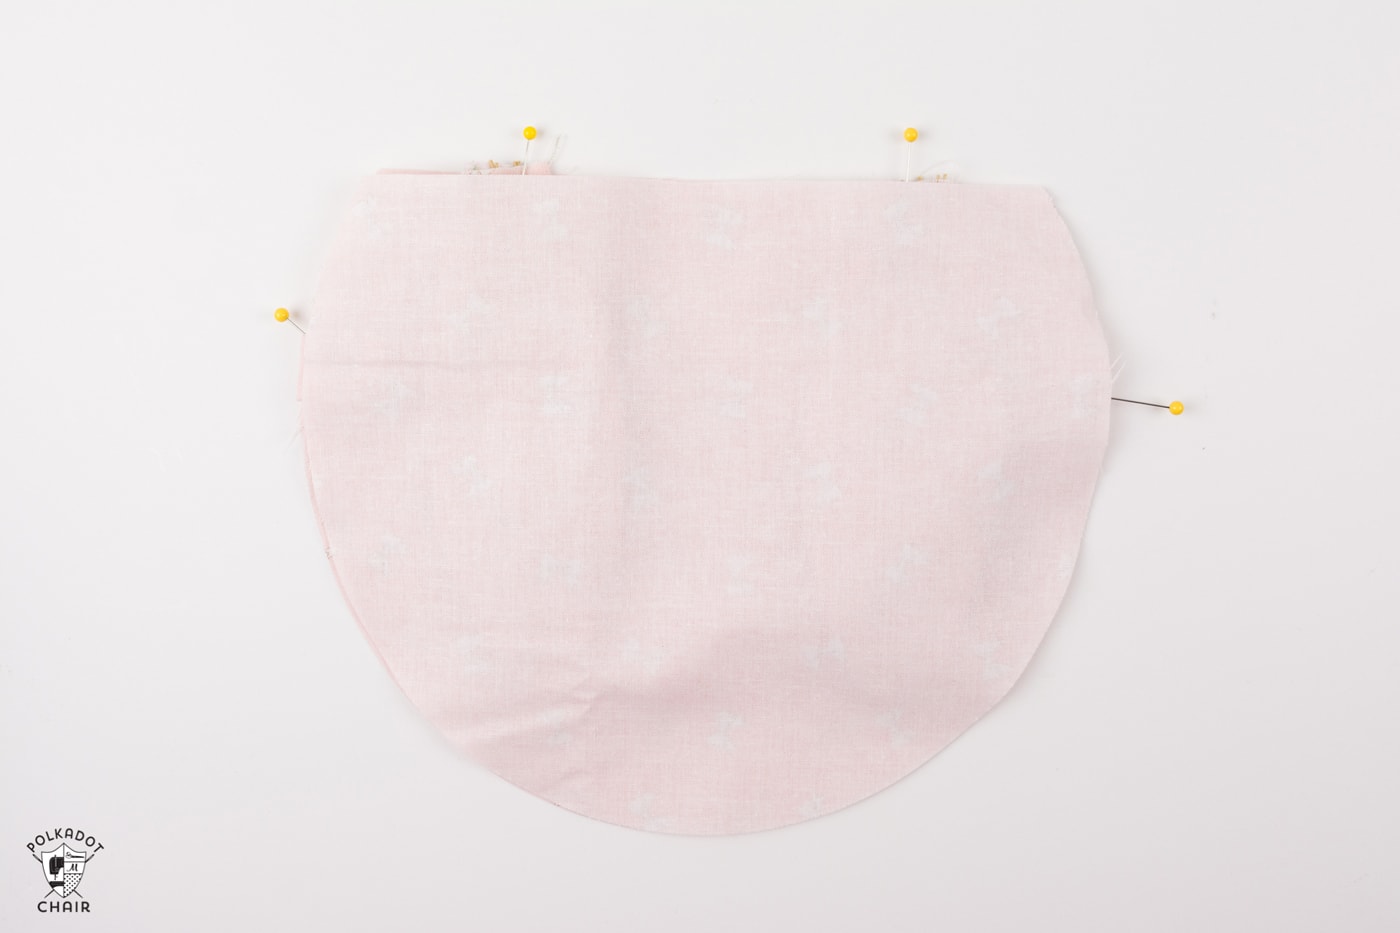
Pin the bag outside the back piece on top of the bag front piece and sew together using a ½″ seam allowance. Clip the seam allowance and turn right side out.
Stitch the two bag lining pieces together, right sides facing leaving the top open. Trim the seam allowance down to ⅛″. Turn right side out.
Slip the bag outside piece into the bag lining piece, right sides facing. Pin in place.
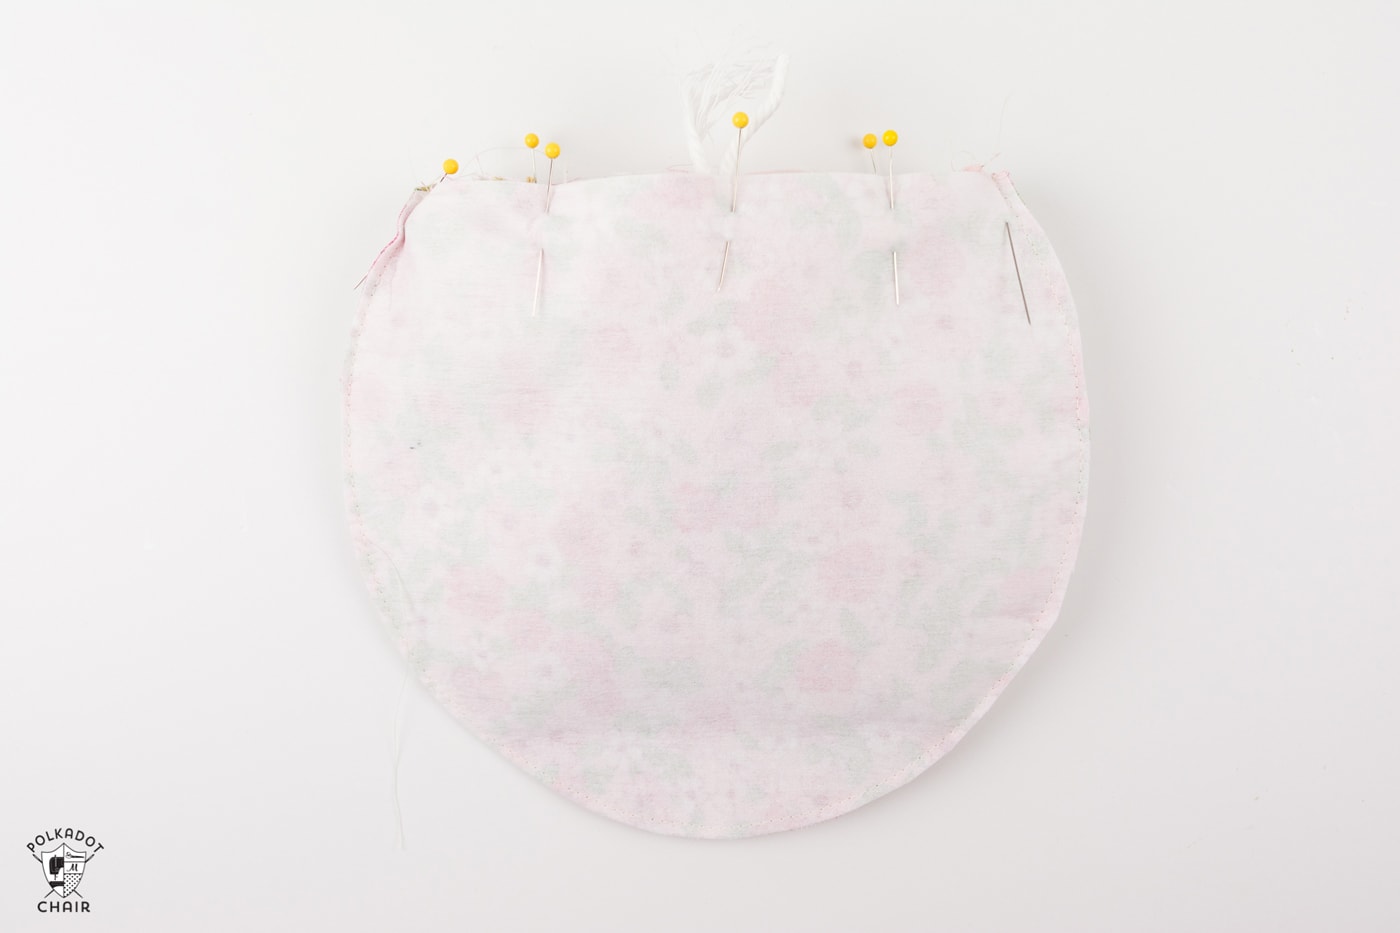
Stitch the top opening of the bag, leaving a 3″ opening in the back of the bag. If the arm of your sewing machine comes off, it will be helpful for this step.
Turn the bag right side out through the opening.
Press the bag well.
Step Three; Apply the Iron-On Bunny Face:
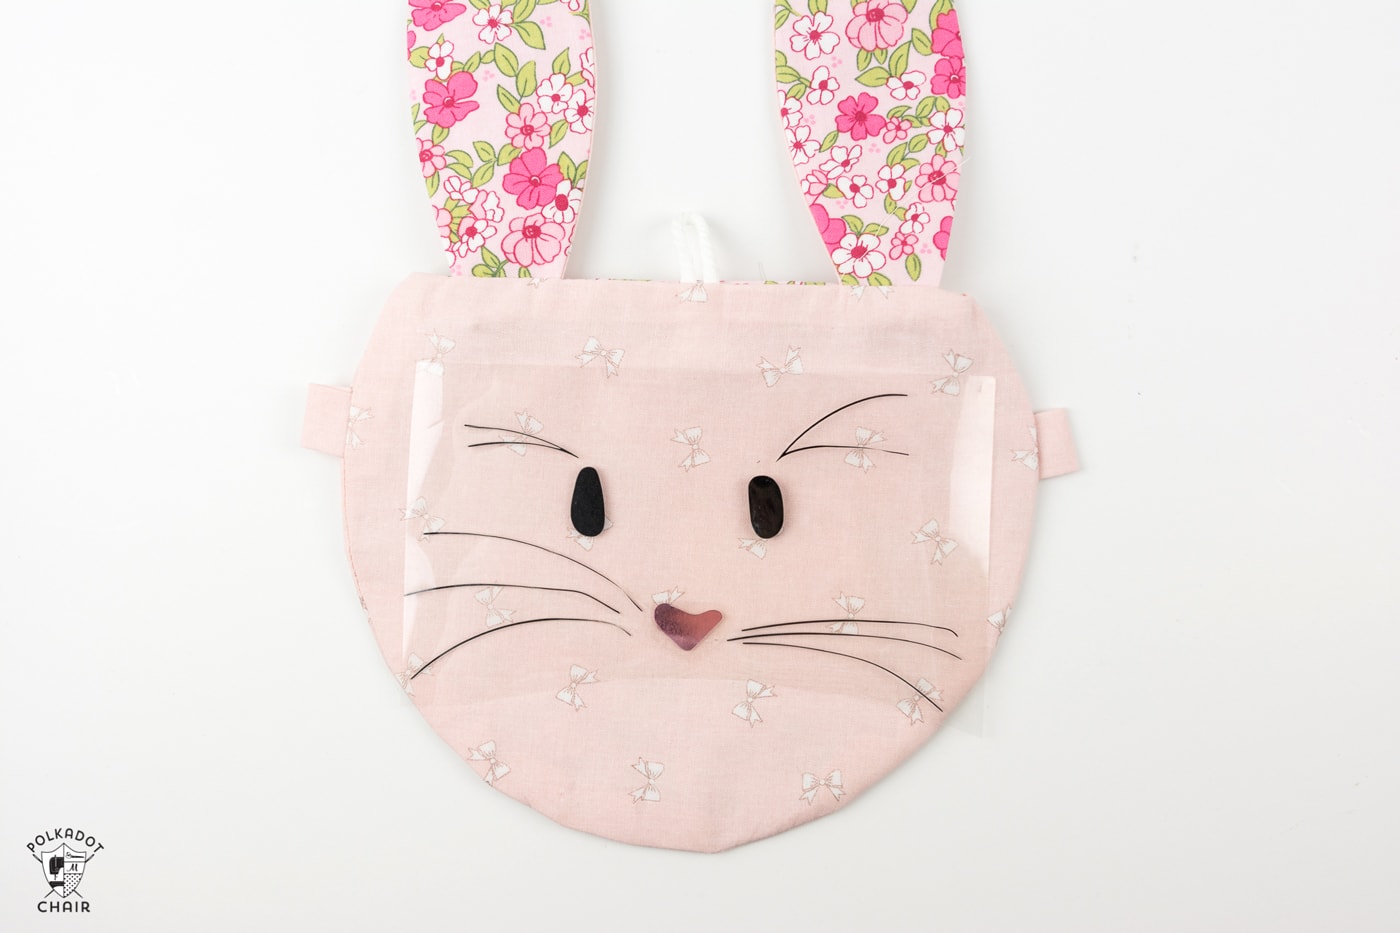
Place the pink nose on the center of the bag. Make sure you’ve cut away most of the plastic film.
Place the bunny face onto the bag so that it’s in the center of the bag and the nose is in the proper place.
Using your Cricut EasyPress adhere the bunny face to the bag. NOTE: You can press the nose and the face at the same time. Do not at any time place the EasyPress on top of iron on vinyl without the plastic in between the vinyl and the EasyPress.

Step Four; Finishing:
To finish the bag, slip stitch the opening in the back of the bag closed with a needle and thread. Sew the button onto the back of the bag so you can loop the cotton string over it.
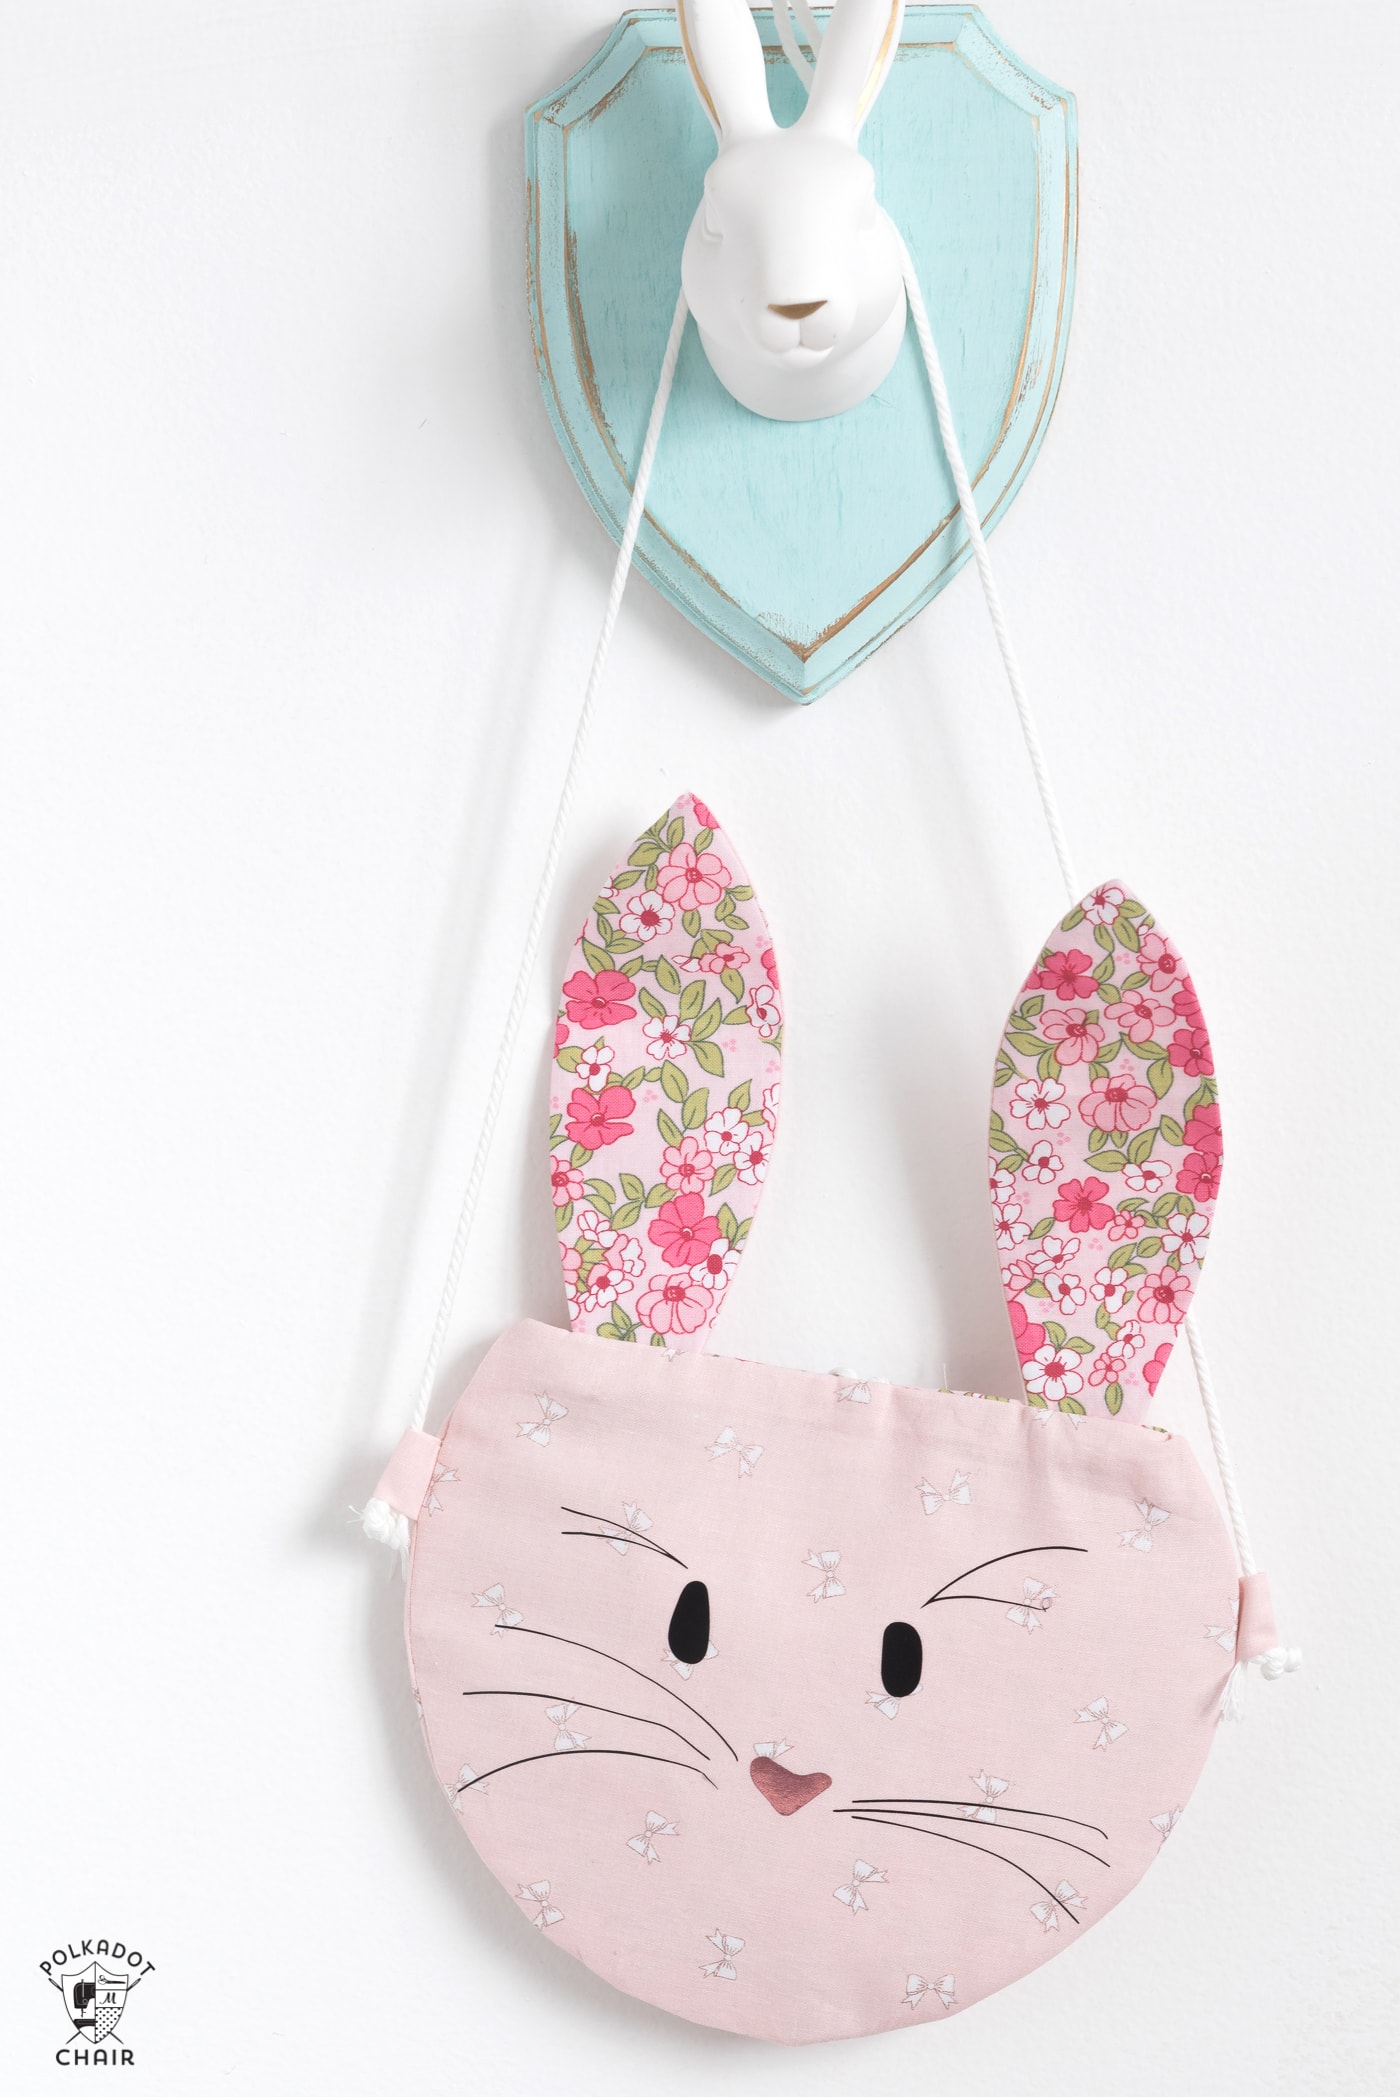
Cut a piece of cotton string the length you’d like your straps to be (you can also use ribbon). Feed it through the loops on the outside of the bag and knot it until it doesn’t pull through the loop anymore.
That’s it!! You’re done!!!

Cricut Products Used
- Cricut Maker Machine
- Fabric Cricut Cutting Mat (12″ x 24″ size recommended)
Regular Cricut Cutting Mat - A scrap of Pink Iron-on Lite Vinyl
- Black Iron-On Lite Vinyl
- Cricut EasyPress
If you’d like to sew a larger bunny purse then you might like my Alice Bag Pattern! It comes with several variations and 3 sizes.
This is a sponsored conversation written by me on behalf of Cricut. The opinions and text are all mine.
Leave a Reply